How to Draw a Tomato in 4 Easy Steps
This quick tutorial show how to draw a tomato step by step. It can be great for beginners and those who want to draw something easy for fun.
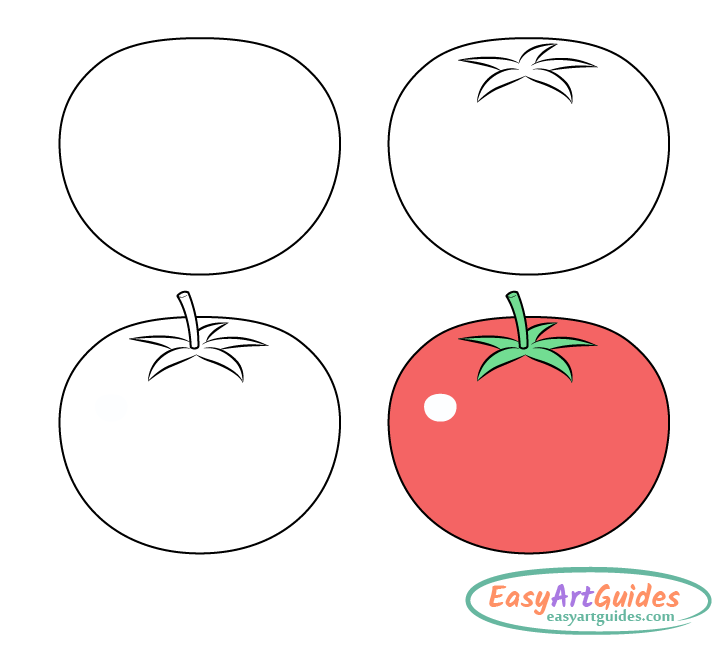
As you can see in the above preview the examples go from drawing the tomatoes main shape, followed by the sepals and stem to applying some basic colors. The drawing is done in a somewhat simplified style however overall the tomato has a fairly realistic shape.
Start the line drawing portion of the tutorial in pencil and make light lines as you will need to erase a little bit of the tomato’s outline when adding in the stem. This will also make it easier to correct any potential mistakes. You can darken your lines by tracing over them before coloring.
To color the tomato all you need is some red and green. You can use markers, paints, colored pencils or just about any coloring media you like or have available.
Step 1 – Draw the Tomato’s Outer Shape
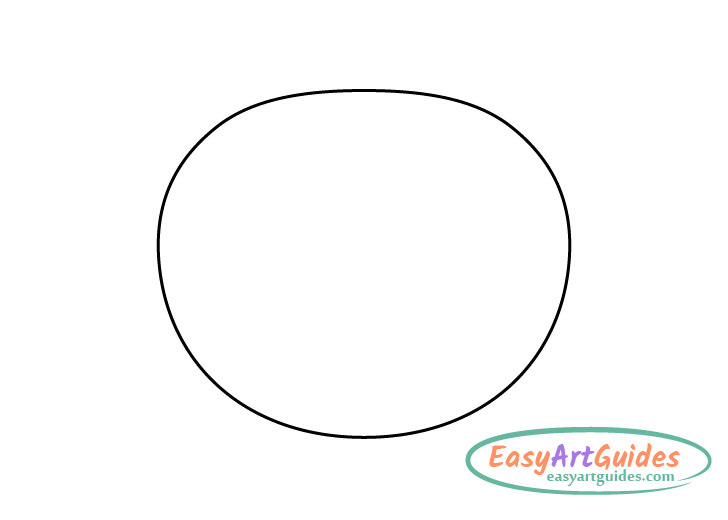
As mentioned, start the drawing by outlining the tomato’s main shape. Make this an oval as shown in the example. The tomato does not need to be perfect but try and make it fairly symmetrical.
Step 2 – Draw the Tomato’s Little Leaves (Sepals)
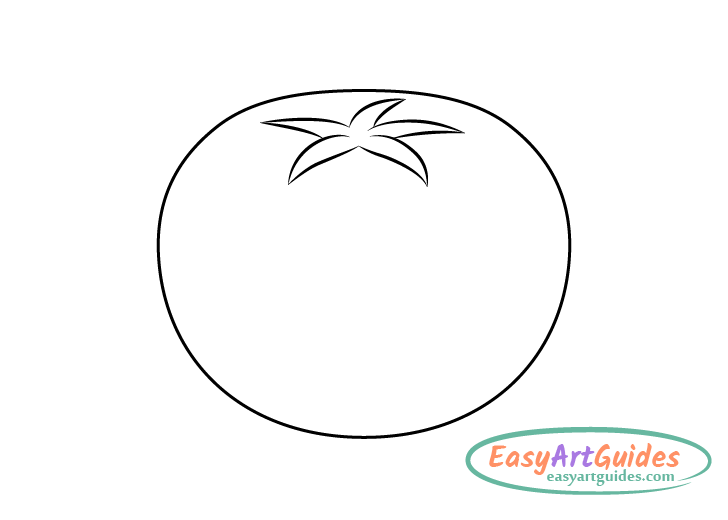
In the upper middle of the outline from the previous step draw a small bunch of “leave” (called sepals). Generally tomatoes have five of these in total and they tend to create a star-like shape as shown in the example. In this example the sepals are shown as being viewed on an angle so make the star somewhat vertically “flattened”.
In the middle of the sepals draw the indent that the stem grows out of (added in the next step). You can show this with just one little curve.
Step 3 – Add the Stem & Finish the Line Drawing
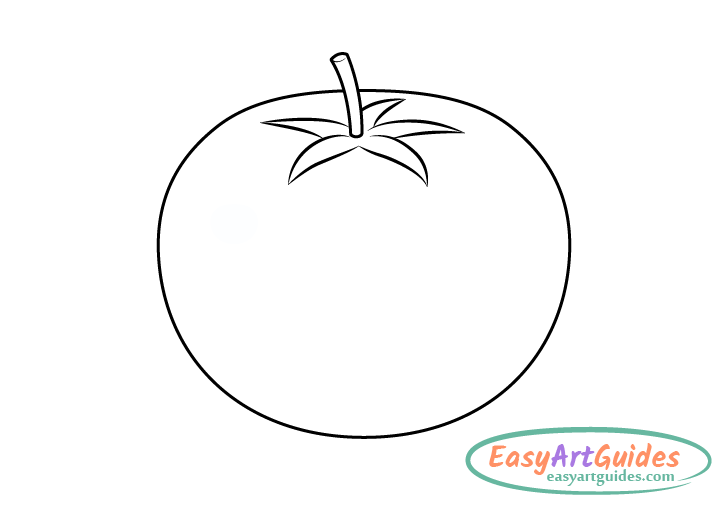
Coming up from the middle of the sepals (the little curve drawn in the previous step) add the stem. Make it slightly wider as it goes up and make it’s overall shape lightly curved. You can erase the parts of the drawing it overlaps when adding it in.
Once you’ve added the stem glance over your drawing to make sure everything looks good If so, you can trace over your lines to darken them. Either do this with the pencil or with a black marker.
When done with the above you should have a finished line drawing of a tomato that you can color in the next step.
Step 4 – Color the Tomato
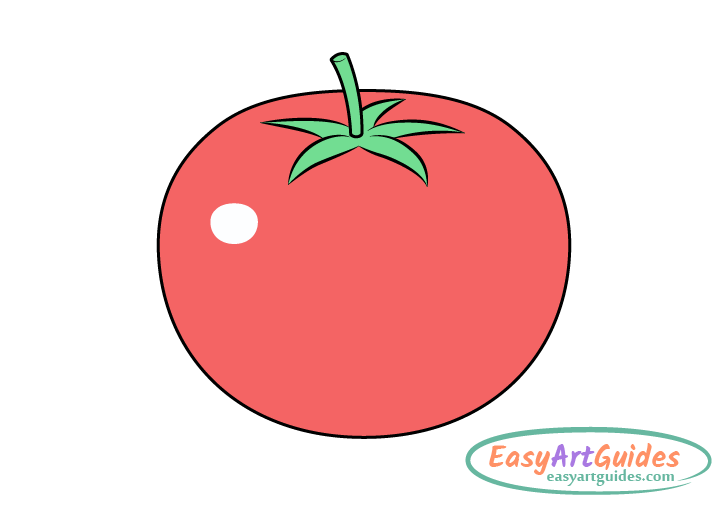
As mentioned at the start of the tutorial, you can use anything you like to color your drawing (markers, paints, colored pencils etc…).
Make the tomato red (for a common and ripe look) and the “leaves” and stem green. When coloring the tomato leave a small white spot (see example) on one of the sides. This will show a reflection which will help convey that the tomato has a smooth surface. You may wish to lightly outline the white area before coloring (in red or regular pencil) so that you don’t accidentally go over it.
Conclusion
This tutorial shows a fairly quick and simple way to draw a nice looking tomato. As shown this can be achieved by gradually adding each of it’s parts and giving them shapes that are characteristic of such a fruit (yes, tomatoes are fruit).
If you like these types of simple yet helpful guides also be sure to try the following:


