How to Draw a Cannon Step by Step
This guide shows how to draw a cannon with a step-by-step breakdown. The example features the kind of artillery piece you would find on a sailing ship or atop a fortress. It’s also the kind that fires cannonballs.
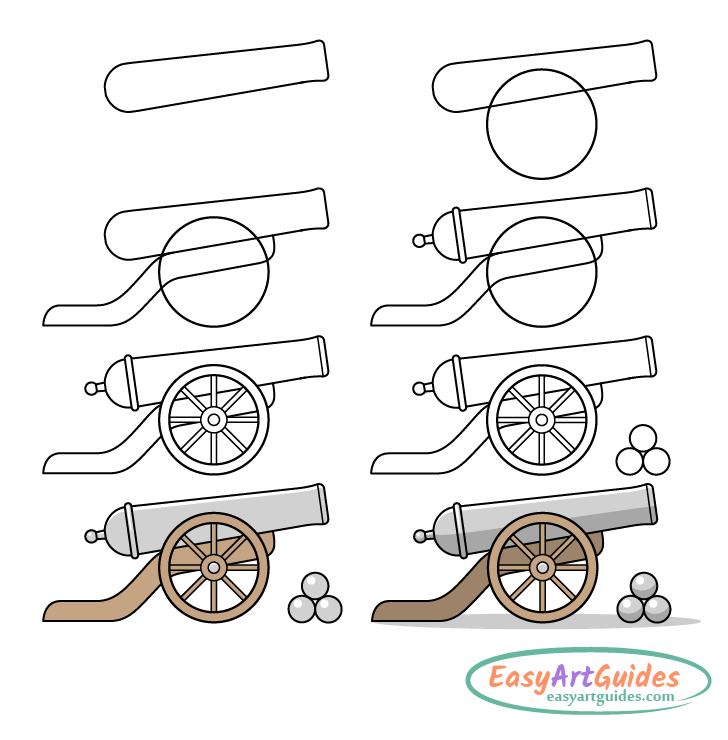
As is common for such weapons, the cannon in the example is drawn with a metallic barrel and a wooden carriage. The steps first demonstrate how to add its various parts with their characteristic shapes and then illustrate how to color and shade the artwork in a simple but effective way.
Be sure to start the drawing in pencil as the guide is put together in a way which requires erasing. Also, try to keep your lines fairly light to make it easier to do so. Once you’ve defined all of the cannon’s parts, you can then trace over them with a fine-tip black marker or darken them with the pencil.
Recommended Materials for This Cannon Drawing
- HB Pencil: A regular pencil for creating the initial line drawing.
- Eraser: For cleaning up overlapping lines and correcting any potential mistakes.
- Paper: White paper.
- Black Marker: For tracing over the initial lines to get black outlines like those in the examples.
- Brown Colored Pencil (recommended): An easy option for getting the two variants of brown used in the examples.
- Drawing Tablet & Software (alternative): A digital option that allows you to easily create black outlines , apply solid color fills, and layer the shadows and highlights.
Step 1 – Draw the Cannon’s Barrel
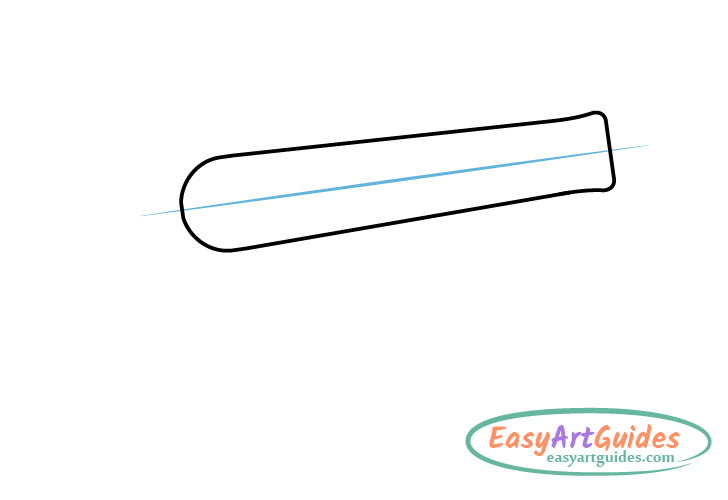
First, outline the barrel. Cannon barrels are often raised, but in this case it’s positioned horizontally to make the part easier to draw.
In this example, the cannon is facing to the left. Position the barrel to the left side of your drawing area to leave enough room on the right for the carriage.
Prior to drawing the barrel, make a horizontal guide line through where you wish to have its middle. This line can make it easier to see if the outline is relatively symmetrical and that the barrel is straight.
Draw the barrel starting with the muzzle. Make this wider towards the back and draw a straight line to define its edge. Past the edge, make the barrel’s shape slightly narrower and then wider again all the way to the back. Make the end of the barrel rounded.
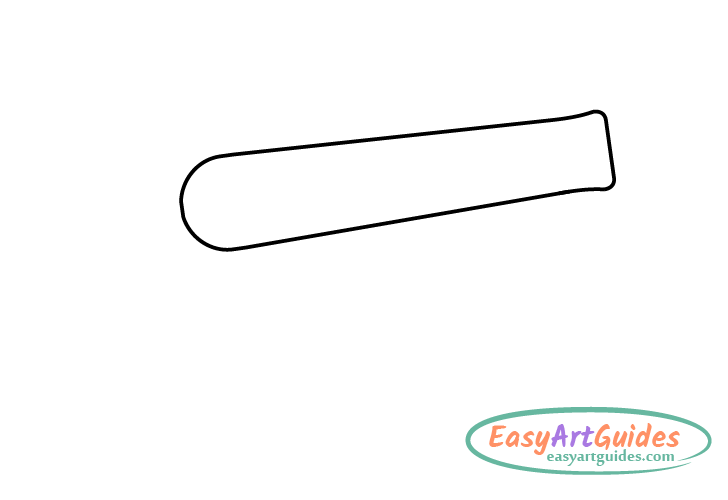
After you have the barrel outlined, you can erase the guide line.
Step 2 – Draw the Carriage
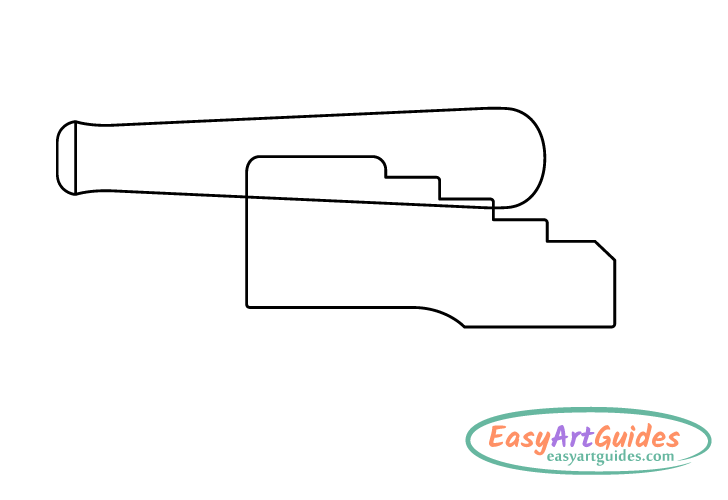
Supporting the barrel, draw the carriage. Outline it overlapping the barrel’s outline. Define the front with a straight vertical line. Draw the bottom starting with a straight horizontal line that then transitions into a downwards curve around the middle. This then transitions into another straight horizontal line a little lower down.
Draw the top of the carriage to be straight with rounded corners on both sides, before transitioning towards the back as a series of little steps. These should then go into another straight horizontal line area that slopes down at the back. Define the back of the carriage with a straight vertical line.
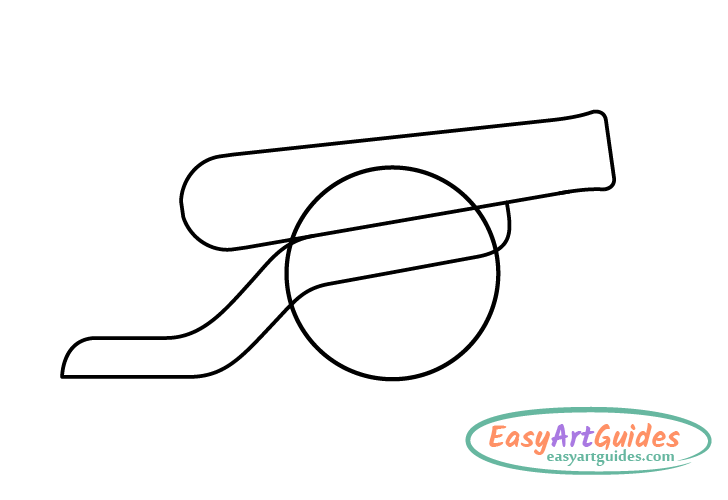
Once you have the carriage fully outlined, erase the part of the barrel that it overlaps.
Step 3 – Outline the Wheel
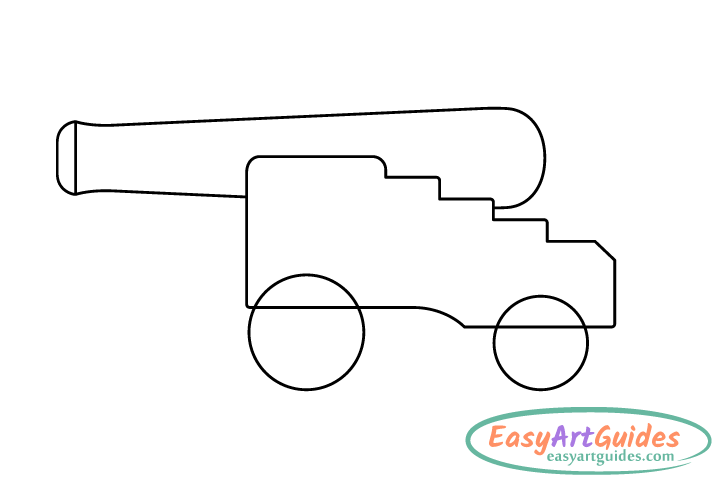
Ship and fortress cannons usually have four small wheels (instead of two big ones like field cannons). In this example, only the two viewer-facing ones are visible. As with the carriage’s initial outline overlapping that of the barrel, draw these overlapping the outline of the carriage.
Define the wheels as a pair of circles with a larger one in the front and a smaller one at the back. Be sure that the bottoms of both wheels are on the same level. Drawing that of the smaller one higher up is a common mistake.
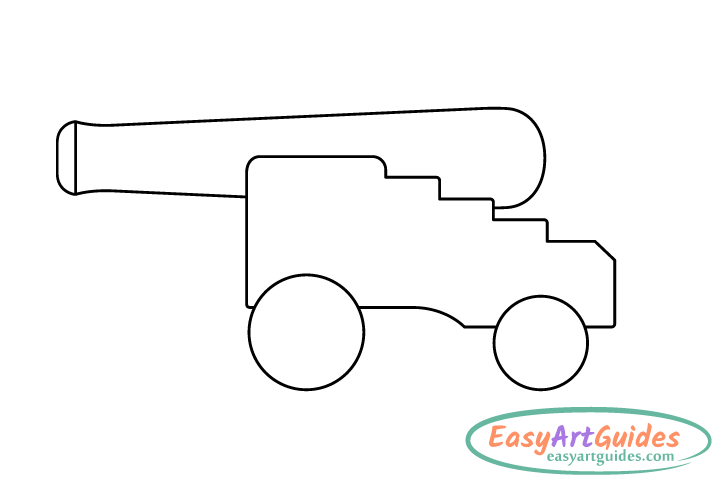
Once you have the wheels outlined, erase the parts of the carriage that they overlap.
For drawing other kinds of wheels, see:
How to Draw a Bike Step by Step
Step 4 – Add the Cascabel
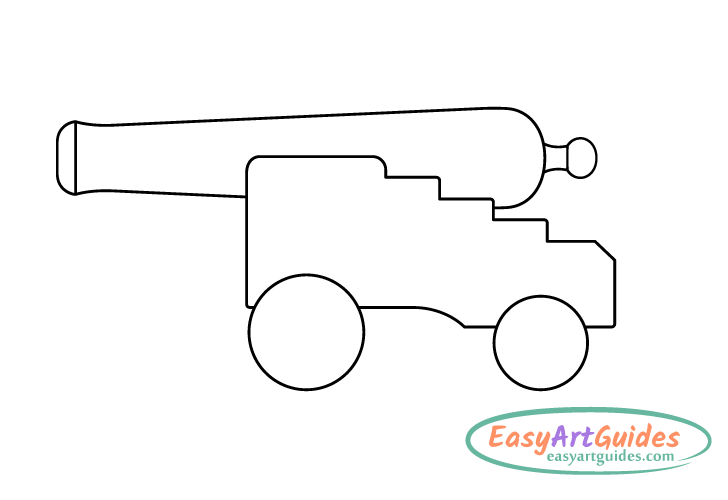
At the back of the cannon’s barrel, add a little knob-like part called the cascabel (used for attaching a rope or moving the cannon).
First, draw the narrower area before the knob (the shank). Define this with a pair of curved lines in a way where it’s narrower in the middle. Next, define the knob with an oval-like shape.
Step 5 – Define the Planks
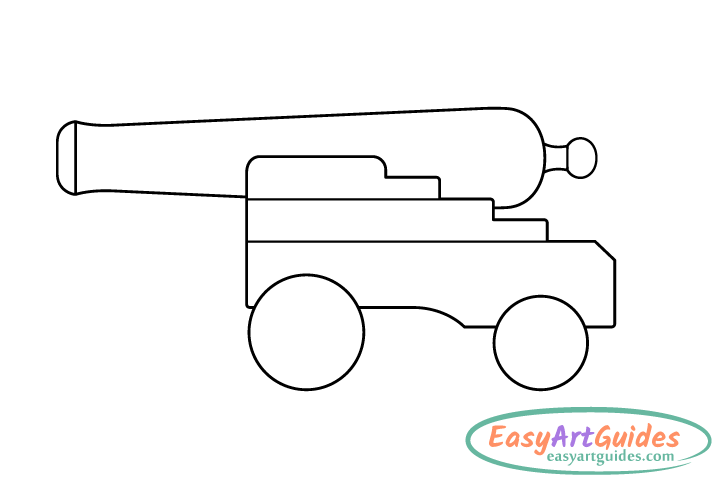
The carriage of this type of cannon is usually made of wood. To show that it’s not one solid piece, draw some straight lines running across the main outline. This will create the appearance of individual planks.
For drawing a log that these kinds of planks are made from, see:
How to Draw a Log Step by Step
Step 6 – Draw the Trunnion
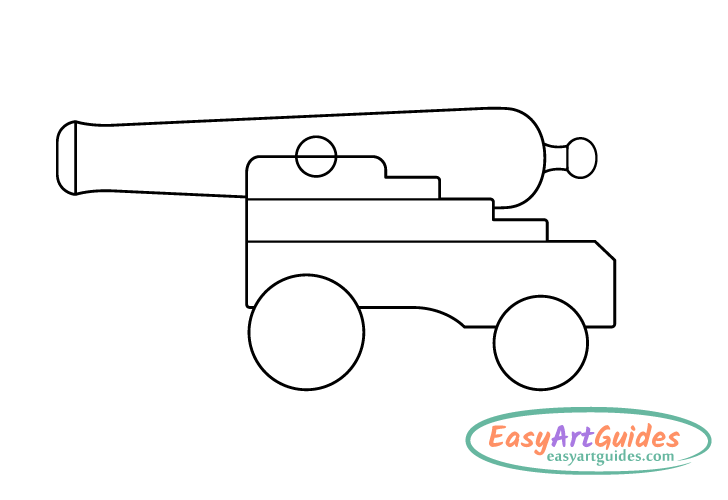
A cannon barrel generally tilts on trunnions, a pair of cylinders (one per side). In this case, define the visible trunnion as a circle. Draw it halfway-embedded into the middle of the carriage’s upper plank and afterwards erase the area that it overlaps.
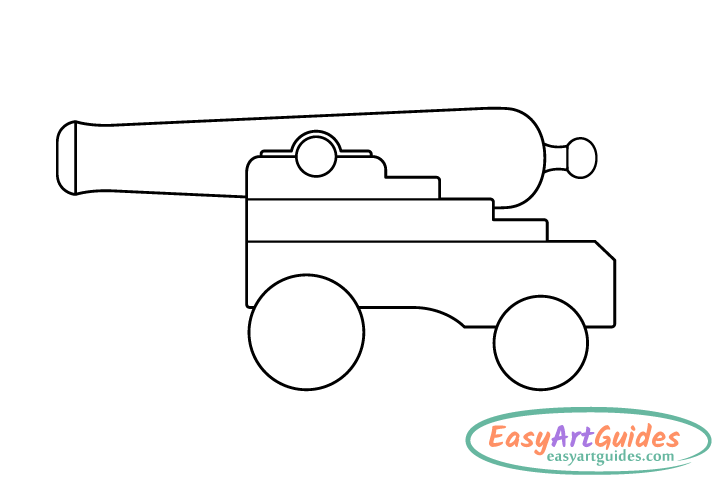
On top of the trunnion, draw a metal strap that holds it in place (called the trunnion cap). Draw the middle of the strap following the curve of the trunnion and the sides flat against the carriage.
Step 7 – Draw the Reinforce Rings
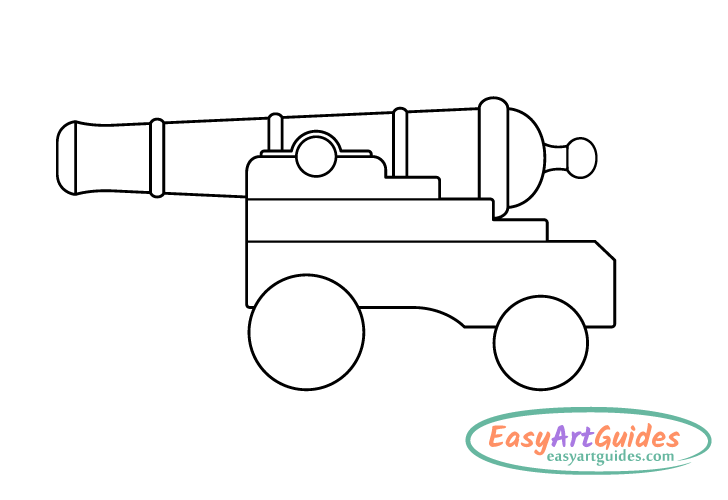
Draw the rings along the cannon’s barrel that reinforce its structure. You can erase little bits of the barrel’s outline when adding them. Start by drawing the thicker one at the back (called the “base ring”). Next, draw the narrower rings spaced out between it and the muzzle. In this example, there are three of them.
Step 8 – Draw the Wheel Parts
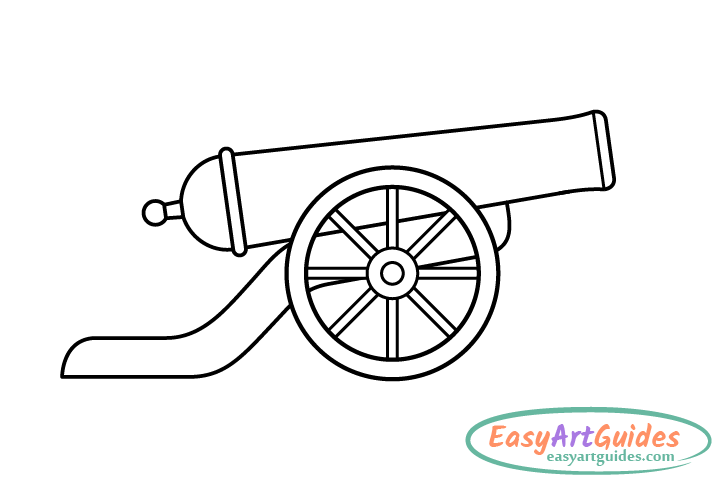
Define the various parts of the cannon’s wheels starting with the axles in the center (the wooden shafts the wheels rotate on). Simply define these as a pair of small circles (one inside the main outline of each wheel). Next, draw a tire (a thin metal band) around each wheel. You can again show these by making another pair of circles inside the main outline of each wheel. However, in this case, make them only slightly smaller. Finally, similar to the carriage, draw a line running through the middle of each wheel to show that they are made of a pair of planks. In this example, the lines are drawn horizontally, but because the wheels rotate, you can show them at any angle. They also don’t have to be parallel to one another.
Once you’ve drawn the details of the wheels, you should have all parts of the cannon outlined. As mentioned at the start of the guide, you can now trace over your drawing with a fine-tip black marker or darken your lines by pressing harder on the pencil.
Step 9 – Color the Cannon Drawing
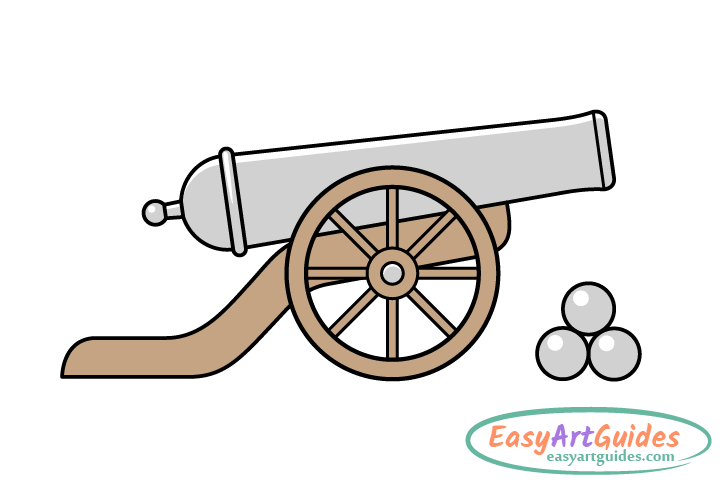
To color the cannon, make its metallic parts gray. These include the barrel, trunnion, trunnion cap, wheel axles, and tires. Color the carriage and the rest of the wheels brown to show that they are wood.
An easy way to get the gray is to just use a regular pencil. You can use a colored pencil for the brown.
When coloring all of the above parts, leave thin white strips running along their tops. Also, leave a white strip along the front of the carriage, along the front of each ring (running slightly less than halfway down), and along the top of each plank. These strips will show light reflecting from the cannon. They are positioned as though the light is coming from above and slightly to the front of it.
To show that the wooden parts are not as reflective as the metallic ones, lightly go over the reflections with brown as well.
If you are drawing digitally, you can add the highlights over the color.
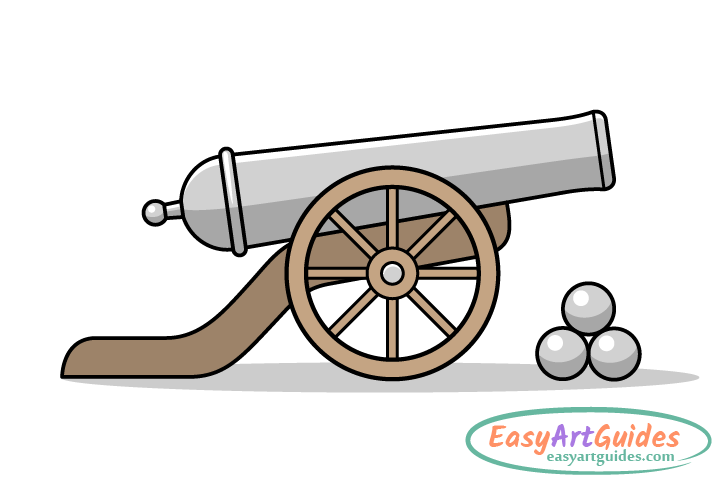
Once done coloring, add some shadows. Create these by once again using a regular pencil.
As already mentioned, in this case the light is coming from above and slightly to the front of the cannon. This means that the shadows will be cast downwards and slightly towards the back (opposite the light). To show this, darken the lower part of the barrel and add a thin dark strip running along the bottom of the carriage. Also, add a shadow below the cannon that is cast by it onto the ground. Make its shape similar to that of a thin oval. Position the shadow so that it starts slightly past the muzzle and ends slightly past the back of the carriage.
The reflections and shadows will help give the drawing a more three-dimensional appearance. The shadow on the ground will also help make it appear as though the cannon is actually sitting on a surface and not just floating in space (even without drawing the actual ground itself).
Conclusion
This guide shows how to draw an old-style ship or fortress cannon; the kind that fires cannonballs. As is traditional for such cannons, the example is drawn with a metallic barrel and wooden carriage.
The guide first illustrates how to outline the cannon’s various parts and then explains how to color and shade the artwork.
Drawing the cannon with a shape and colors common to such artillery can help make it easily recognizable. Properly done shading, in turn, can help your artwork stand out and appear less flat.
For more step-by-step drawing tutorials, also see the following: